The glue down approach of laying wood floorings is among the initial approaches of setting up wood floor covering. If you want to learn the fundamentals of how to install wood floor covering using the glue down method, you've concerned the best location. Amongst do it yourself hardwood floorings, those done with the glue down approach can be the most stable and enduring. When you are setting up wood flooring using the glue down method, you can feel confident that you are using a technique that has been reliable.
Tools Needed When Installing Hardwood Flooring
Square Notched Trowel - This trowel needs to have one quarter inch sides for the application of the glue.
Broom and Dust Pan - You'll wish to continuously be tidying up any saw dust that might get stuck under your flooring panels or get stuck in your linking joints. The last thing you require is a bumpy hardwood flooring when you're done installing hardwood floor covering.

Carpenter's Crayon - This is what you use to mark where you'll make your cuts on your panels. You'll also utilize this to increase the surface area where you'll be laying your panels. You'll wish to keep this helpful at all times since it is particularly important with the glue down approach that whatever be done extremely exactly.
Circular Saw - You'll use your circular saw to cut up panels as needed. In addition, you'll utilize your circular saw to score your substrate sheets every 8 inches. This is necessary for the prevention of curling panels.
Glue - Many hardwood panel kits feature their own glue. If you require to purchase glue for your wood panels, I extremely suggest Bostik's Best Adhesive.
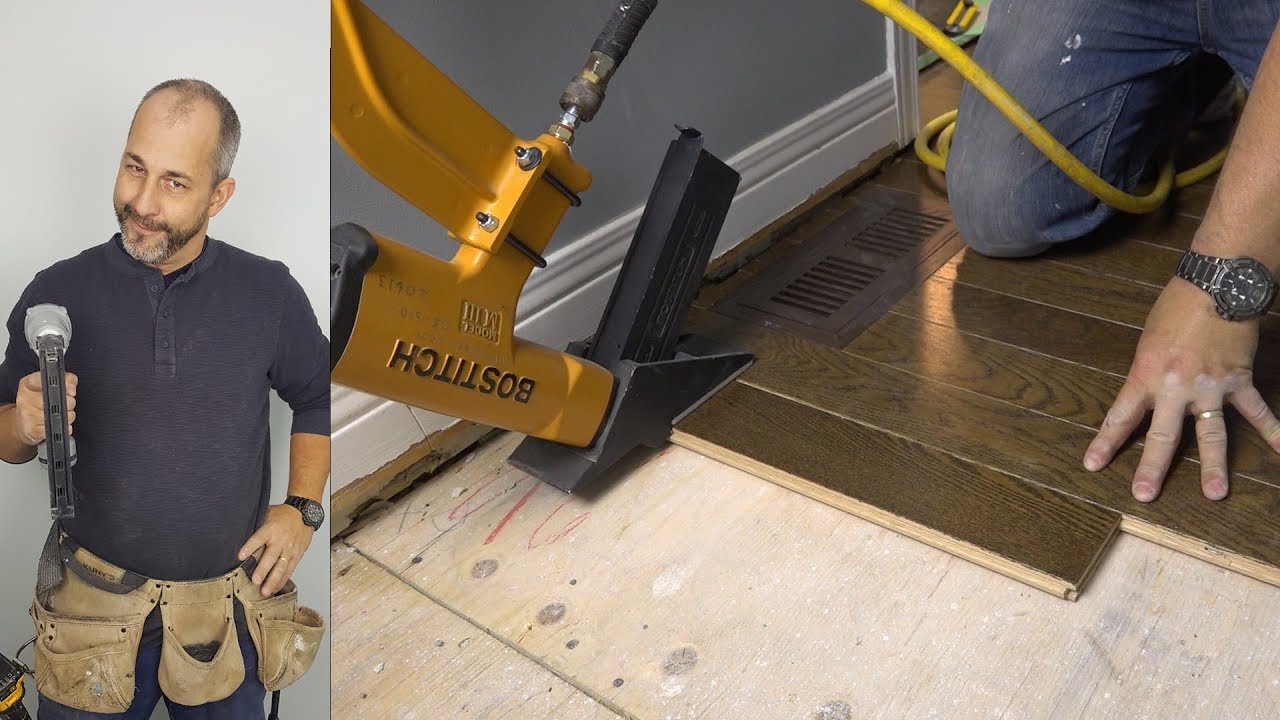
Lace Nails - You'll utilize these nails when linking the panels to walls and wall strips.
Plywood Substrate Sheets - These are placed on top of the concrete and go underneath your hardwood flooring.
Soft Cloths - You'll need these to tidy up excess glue throughout the procedure of setting up wood floor covering. If the glue is enabled to set, it'll take extra step to eliminate it. In some cases, it requires special chemicals and glue to remove glue once it has set. You'll likewise need your soft fabrics to clean up after you've installed your hardwood floors.
Rubber Gloves - It's far better to glue the fingers of your gloves together than your own fingers together! Lots of people do not like having actually dried glue on their hands for weeks after they complete setting up hardwood flooring.
Final Preparation for Installing Hardwood Flooring
When utilizing the glue down method for installing wood flooring, it is definitely important that the surface where you will be putting your flooring panels is properly prepared. You'll be connecting your flooring panels to this surface area, so the flooring should be smooth, dry, and as clean as possible to give your wood flooring a strong assistance base. Be particularly mindful to clean up anything that appears like it may be grease or oil, as your glue might not properly bond.
It's also really essential that your sub floor be entirely level and flat. If you observe any disproportion, get some patching cement from the hardware shop floor manufacturers to even the sub flooring.
You also require to pick between one of the 2 approaches of laying hardwood panels down with the glue down approach. Your choices for installing wood flooring are the Walk On technique or the Wet Lay approach.
If you pick the Wet Lay technique for setting up wood flooring, you'll be putting glue across the substrate followed by putting the wood panel on top of the glue. After the glue begins to become tacky, you proceed to the next panel. Nevertheless, often it is suggested for first time installers utilizing the glue down technique to position the next panels before the glue ends up being ugly so that you can adjust your panels a few minutes later if they are not lined up effectively.
The Walk On technique of installing hardwood flooring requires accurate panel laying. This process of installing hardwood floor covering waits up until the glue is very ugly and then lays the panel in the glue. This keeps you from getting glue spots all over your panels as you go. Experienced wood installers typically utilize the Walk On approach since of the better completed results it can offer. Since you are reading instructions about how to set up wood floors, we'll assume you're using the Wet Lay method.
Instructions for Installing Hardwood Flooring
1. Put your substrate sheets, stretched throughout the structure. Ensure that the surface is level, tidy, and without debris.
2. Get your glue warm. It should be a little above space temperature or it will be really tough to work with. If it's below space temperature level, you'll find it impossible to work with your glue.
3. Use your square notched trowel to put glue in the beginning corner of the room. Put enough to securely fasten the board, but ration your glue so that it'll have the ability to complete the entire wood floor covering process. If you had any doubt about whether you have enough glue, it would have been a great concept to buy more before you started gluing. You'll typically discover that it takes an additional day to do the flooring when you run out of glue before you've ended up.
Try to position your first wood panel directly down on the glue, secured into the corner. Because you are working with wet glue, place the panel as best you can at initially so that you'll not be smearing the glue around as you adjust the panel's positioning.
5. You can continue on as in the above actions with including more panels until you reach the last panel, which shouldn't completely fit. Utilize your crayon to mark where to cut the board and your saw to make it.
6. Get your very first row wedged in actually tight so that it will offer a solid basis for your entire floor.
7. Before any of the glue dries, utilize a soft cloth to tidy up any glue that may be sitting on the surface area of your first row. The longer you wait to clean up the glue, the more difficult it will get to clean up the glue.
8. Ideally you didn't mutilate the excess piece of panel you cut off to end the very first row. That's going to be the panel you use to start the next row. This assists ensure your wood floor looks nice by having all of the panels balance out.
9. If you're seeing any bubbles, hills, or slopes on the panels you've been laying, put a heavy, flat things on top of these areas to hold them down until the glue attaches them to the substrate.
10. Tidy up again. Get all of that sawdust and glue out of there. A soft fabric with mineral spirits on it can be used to get glue you've missed that may be hardening. Tidy the mineral spirits off quickly to prevent having them harm the floor. You ought to have a good, new wood flooring.
Hindsight Tips for Installing Hardwood Flooring
- For finest outcomes, use plywood sheets to form your substrate.
- The thicker your substrate sheets are, the easier it is to make up for leveling distinctions at the surface area. But you must still attempt to get the surface as level as possible prior to laying your substrate sheets.
- If you have enough flat, heavy items, place them on each brand-new panel as you place the panel on the flooring to assist it get the best possible attachment to the substrate. Be careful not to get glue on top of them.
Rest Assured That You Made a Good Choice Installing Hardwood Flooring
When you have your wood floor glued down, you are all set to experience an excellent sense of achievement. If you did a really great task of installing your wood floor covering using the glue down approach, you will not experience nearly as much creaky floor syndrome as you would with other approaches of installation.
And for your sake, I truly hope you followed the directions carefully and selecting high quality flooring. This is because changing a glued down hardwood floor is no job for beginners. That is unless you've got harmful enjoyment propensities. You'll need some severe sledgehammer, crow bar, and circular saw work if you ever wish to replace that glued down hardwood floor.